Windows Local Setup
Install the native Windows tools first. You will use them for local projects before you add WSL.
Install the compiler and Make
Download the GCC 15 MinGW archive. (We are installing the 64-bit version of GCC 15.2.0 with POSIX threading, SEH, and the UCRT runtime.)
Windows 11 can extract .7z archives. On older systems, install
7-Zip first.
Extract the archive to
C:\.Confirm that
C:\mingw64\bincontainsg++.exeandmingw32-make.exe.Open the Start menu and search for Edit the system environment variables.
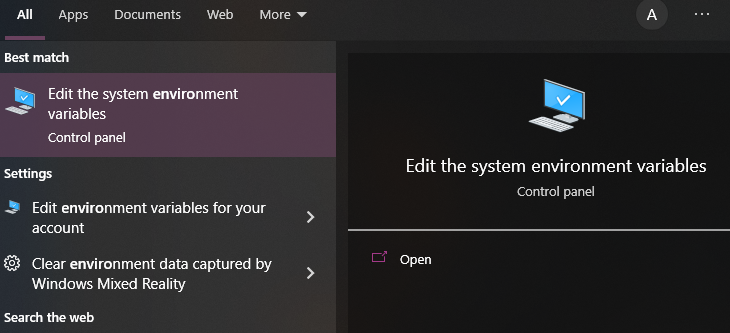
Open the result, select the Advanced tab, and select Environment Variables.
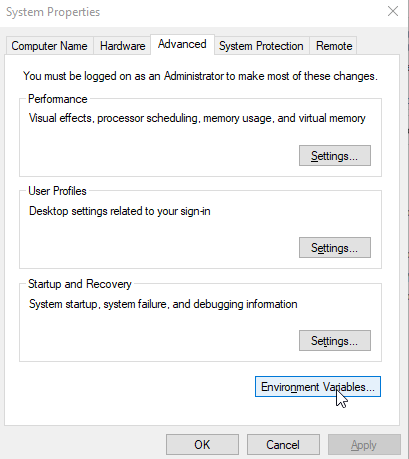
Select
Pathunder User variables, then select Edit.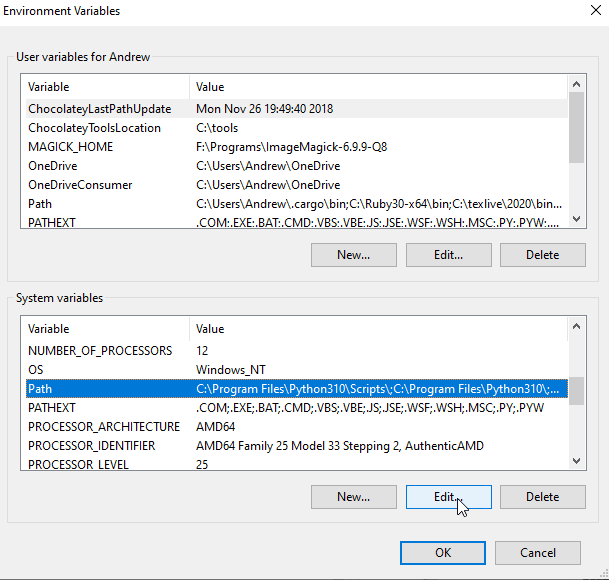
Select New, enter
C:\mingw64\bin, and select OK until all the settings windows close.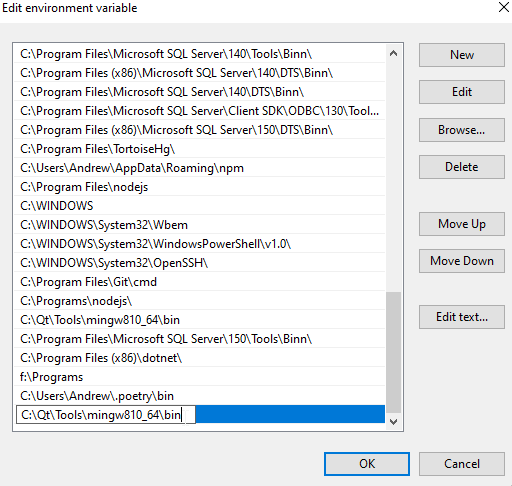
Close and reopen any terminal windows.
Open PowerShell and test both tools:
g++ --version
mingw32-make --version
This demonstration shows how to extract MinGW and add its bin folder to the Windows
Path. Follow the folder names and compiler version in the written steps above if they
differ from the video:
Install VS Code and extensions
Install
Visual Studio Code. Then open the
Extensions view with Ctrl+Shift+X and install:
ms-vscode.cpptools
cschlosser.doxdocgen
usernamehw.errorlens
ascholer.chemeketa-gitdoc
davidkaiser.kaiser-project-zip
Install and configure Git
Install the 64-bit version of Git for Windows. Choose Visual Studio Code when the installer asks for a default text editor.
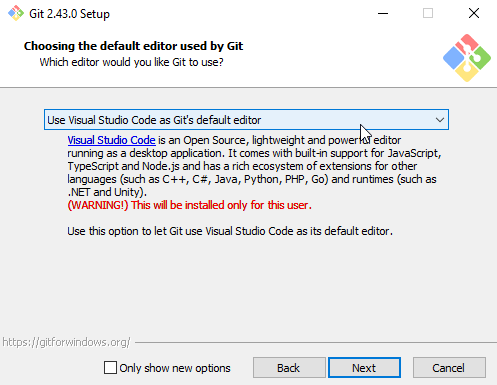
Open a new PowerShell window and verify the installation:
git --version
Then configure your Git identity.
Verify the complete setup
Create or download a fresh Basic Project and open its entire folder in VS Code.
- Open Run and Debug.
- Select Run Program.
- Start the program.
The template should run mingw32-make, create program.exe, and open the program in
the debugger. If it does not, see
Troubleshooting.